What Are AI Image Enhancement Prompts
AI image enhancement prompts are short instructions that tell an image model how to improve a picture. A weak prompt says make this photo better. A strong prompt describes the exact area to fix, the amount of change, and the detail to protect. When you use a clear prompt, the result is more likely to keep the person, product, or place looking natural instead of overprocessed. This article focuses on practical, reusable prompts for sharper focus, balanced light, realistic color, and clean detail. Use them in your preferred AI editor or pair them with the style filters inside the CoupleLens app.
Why Specific Prompts Beat One Word Commands
One word commands such as enhance, sharpen, or brighten leave too much room for the AI to guess. The model may increase contrast too much, add unnatural texture, or change the color of the original scene. By naming the subject, the area to fix, and the look you want to keep, you reduce that risk. This is especially important for portraits, product photos, and old family pictures where identity and brand accuracy matter.
A useful prompt often includes four parts: the area to improve, the direction of change, a protection rule, and the final mood. For example, instead of saying improve the face, you can say sharpen the eyes and hair in this portrait while keeping skin texture soft and natural. The extra words guide the model toward a cleaner result.
How to Structure a Strong AI Image Enhancement Prompt
The best prompts are direct and visual. Start with the exact area that needs work, such as the subject, background, or entire frame. Then describe the direction of improvement, such as lift the shadows, reduce the haze, or recover the highlights. Next, add a protection rule that tells the model what to preserve, for example keep the original facial features or keep the background colors unchanged. Finally, mention the mood or finish you want, such as natural, clean, or softly polished. This structure keeps the model from overcorrecting the image.
25 Ready to Use AI Image Enhancement Prompts
The prompts below are grouped by common editing goals. Pick the category that matches the problem you see in your photo, then copy one and adjust the subject words to fit your image.
Clarity and Detail Enhancement
- Sharpen the main subject in this photo while keeping the background softly blurred. Restore natural skin texture and fine hair strands without adding digital noise.
- Upscale this portrait to high resolution. Preserve the original facial features, eye color, and skin tone, and remove any blur or compression artifacts.
- Enhance the fine details in this landscape photo. Make the leaves, rocks, and water surface crisper while keeping the overall lighting natural.
- Recover lost details in the dark areas of this image. Lift the shadows gently and keep the bright areas from becoming overexposed.
- Improve the clarity of this product photo. Remove soft haze, define the edges, and keep the background clean and neutral for ecommerce use.
Color and Tone Enhancement
- Fix the white balance in this photo. Make the colors look true to life, remove any yellow or blue cast, and keep skin tones natural.
- Enhance the colors in this food photo without making them look artificial. Increase warmth slightly, boost natural saturation, and keep the texture appealing.
- Give this flat image a rich, balanced color grade. Deepen the shadows, brighten the midtones, and preserve the original color story.
- Turn this dull outdoor shot into a vibrant scene. Improve the sky color, add gentle contrast to the foreground, and leave the main subject unchanged.
- Make the colors in this portrait more harmonious. Soften any distracting color patches, even out the skin tone, and keep the overall mood calm.
Lighting and Exposure Enhancement
- Correct the exposure in this photo. Brighten the subject without blowing out the background, and keep the highlights soft and natural.
- Add soft, directional light to this indoor portrait. Place a gentle glow on the face while keeping shadows realistic and the backdrop intact.
- Rebalance this backlit photo. Recover the silhouette details, brighten the face naturally, and keep the rim light subtle.
- Convert this flat noon light photo into a golden hour scene. Add warm side light, long soft shadows, and keep the subjects fully recognizable.
- Fix the harsh shadows in this selfie. Reduce contrast on the face, smooth the transition between light and dark, and keep the background unchanged.
Texture and Detail Recovery Enhancement
- Preserve the original style of this image while improving its overall polish. Remove noise, increase sharpness, and keep the artistic mood intact.
- Apply a clean, modern enhancement to this photo. Keep the person exactly the same, improve skin detail naturally, and add a subtle studio polish.
- Enhance this hand drawn artwork by cleaning up the lines, lifting the colors, and preserving the original drawing style.
- Improve the texture in this macro shot. Make the surface details more visible while keeping the depth of field natural.
- Refresh this old scanned photo. Reduce grain, repair minor scratches, improve contrast, and keep the vintage atmosphere.
Style Preserving Enhancement
- Improve this image without changing its artistic style. Increase clarity, reduce noise, and keep the original color palette and mood.
- Make this low light photo cleaner and brighter while preserving the cozy evening atmosphere. Keep the shadows soft and the warm tones intact.
- Enhance this street photo by making the main subject stand out more. Keep the documentary feel, avoid a digital look, and preserve the natural grain.
- Polish this portrait while keeping the person completely recognizable. Soften fine lines gently, balance the light, and leave the eye color and hair shape unchanged.
- Recover the detail in this overexposed sky and underexposed foreground. Blend the exposure evenly and keep the scene looking like the original moment.
How to Adapt These AI Image Enhancement Prompts to Your Own Photos
Replace the subject words with what appears in your picture. If a prompt says portrait, change it to pet, car, sneaker, cake, or building. If the prompt mentions food, swap it for jewelry, clothing, or furniture. Keep the direction and protection parts the same because those guide the model toward a balanced result. You can also add one extra constraint when needed. For example, add keep the brand logo sharp or keep the text readable when editing a product image or screenshot.
It also helps to run the same prompt in small steps instead of asking for every fix at once. Start with clarity or exposure, download the improved version, then move on to color or texture. This approach is easier to control and prevents the model from making the photo look artificial.
Fixing Weak or Overprocessed Results
If the result looks plastic or too smooth, add a protection phrase such as keep natural skin texture and pores visible. If the colors become oversaturated, change the prompt to use natural saturation and avoid an HDR look. If the edges look over sharpened, add a note like soften edges gently and avoid halos. If the face changed too much, include keep the original identity and visible facial features unchanged. These small additions make a big difference because they tell the model where to stop.
Using AI Image Enhancement Prompts in CoupleLens
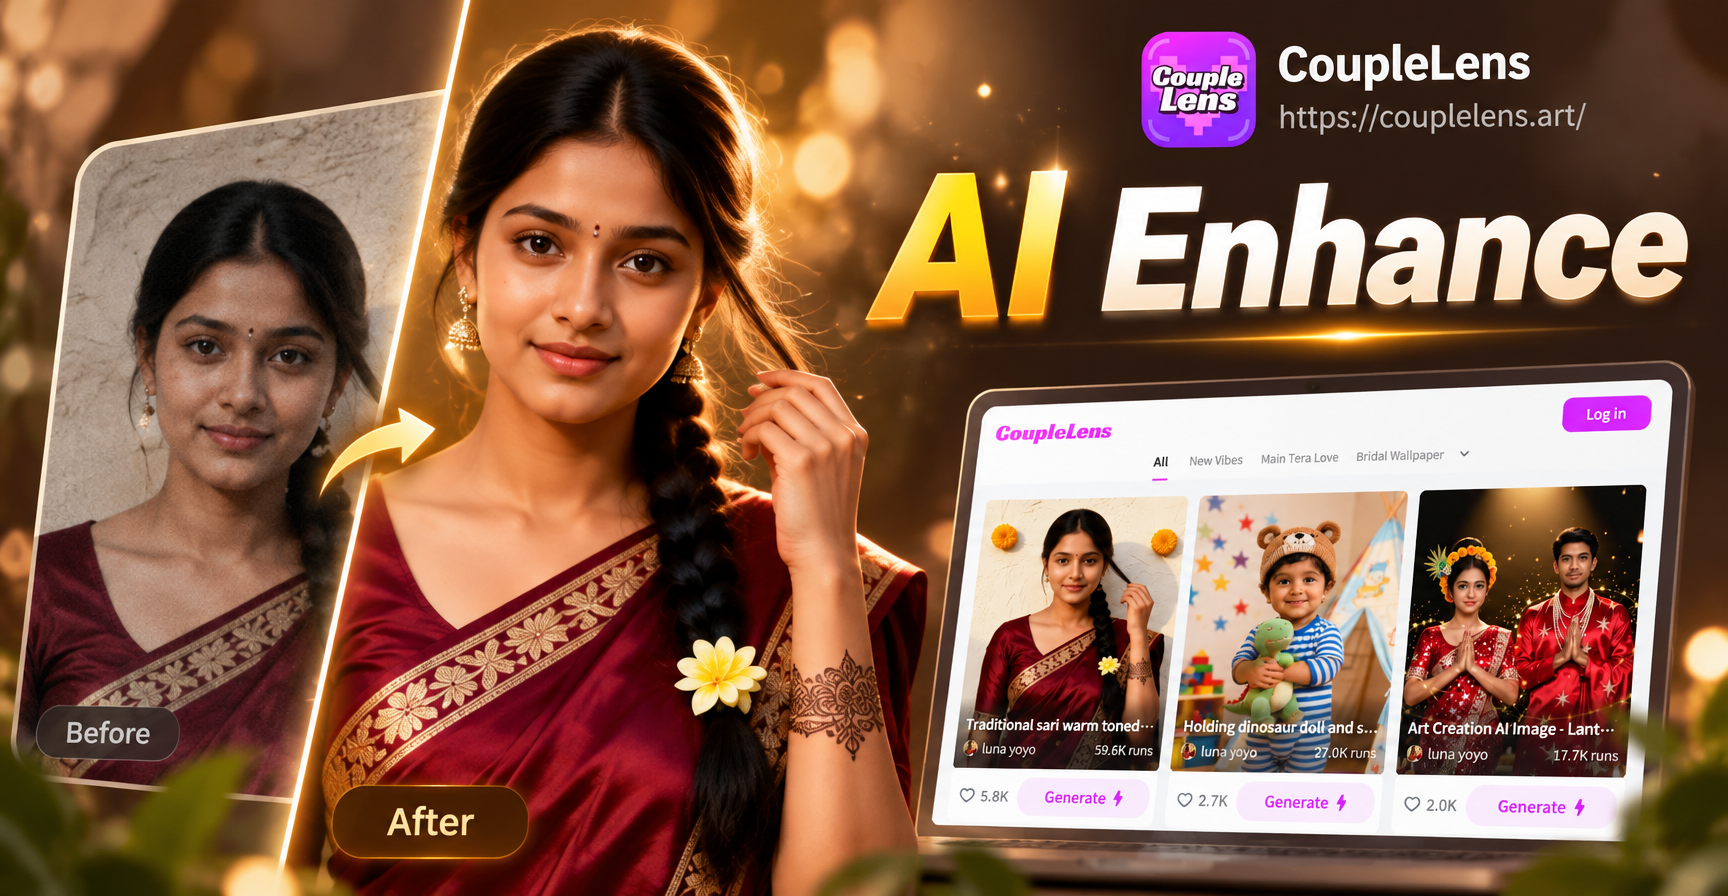
CoupleLens makes this process easier because you do not have to write perfect prompts from scratch. Open the app, upload your photo, and browse the style filters that focus on clarity, color, or lighting. The image enhancement prompts from this guide can act as a checklist while you compare filters. Choose a filter that targets the same problem your prompt describes, then generate the result. This combination gives you a cleaner before and after comparison and helps you learn which visual changes work best for different types of photos.
Because CoupleLens is a mobile app, you can use these prompts anywhere. Take a photo on your phone, open the app, apply a relevant style filter, and share the improved image directly. You do not need advanced editing skills or long technical instructions to get a sharp, well lit, and color accurate result.
Start With One Prompt and Build From There
The next time a photo looks soft, flat, or poorly lit, pick one prompt from the list above that matches the problem. Adjust the subject and protection words, then generate the result. If something looks slightly off, add one correction phrase and try again. Over time you will build a personal set of AI image enhancement prompts that work consistently for your photos. Download CoupleLens to start applying these prompts with easy style filters and turn ordinary pictures into clean, share ready images.